
Dual Boot Hackintosh
Hackintosh / Gaming PC
Why I built hackintosh
There is the reason behind building Hackintosh for iOS development, which was quite simple. My 16” MacBook Pro broke (twice), and repair in Latvia took 3-4 weeks, so I needed something to work on my freelance projects.
I recorded a video back then and listed few more reasons.
I’m still using it for streaming and video conferences, even it is not much faster than my M1 MBP.
🖥 Hackintosh build parts:
CPU: Intel i9-9900k
Graphics Card: Gigabyte AMD Radeon RX 5700 XT
Case: NZXT H510
Power Supply: Corsair cx650
CPU Water Cooler: Cooler Master MasterLiquid ML240L RGB
32GB DDR4 Ram: Kingston HyperX Fury RGB 32GB
500 GB SSD: 970 EVO SSD 500GB
Wifi/Bluetooth Card: MQUPIN fenvi T919
How I built it
13” M1 MBP
16GB RAM 512 SSD
iOS Development Setup
13” M1 MBP
As soon as 13” M1 MBP was available locally, I ordered 16GB RAM 512SSD configuration, and since then, it is my daily driver.
Speed comparing with my Hackintosh is impressive. It is about the same power as a beefy desktop. 16” MBP failed miserably in my side-to-side performance tests.
Comfort matters
When I dropped my day job to build my apps and started freelancing, I tried to spend close to nothing on the office, but after about a year, I began to invest back into development tools.
I just realized that if I’m staring into the screen for longer hours than sleeping in my bed, better to have a great one applicable to the keyboard, chair, etc.
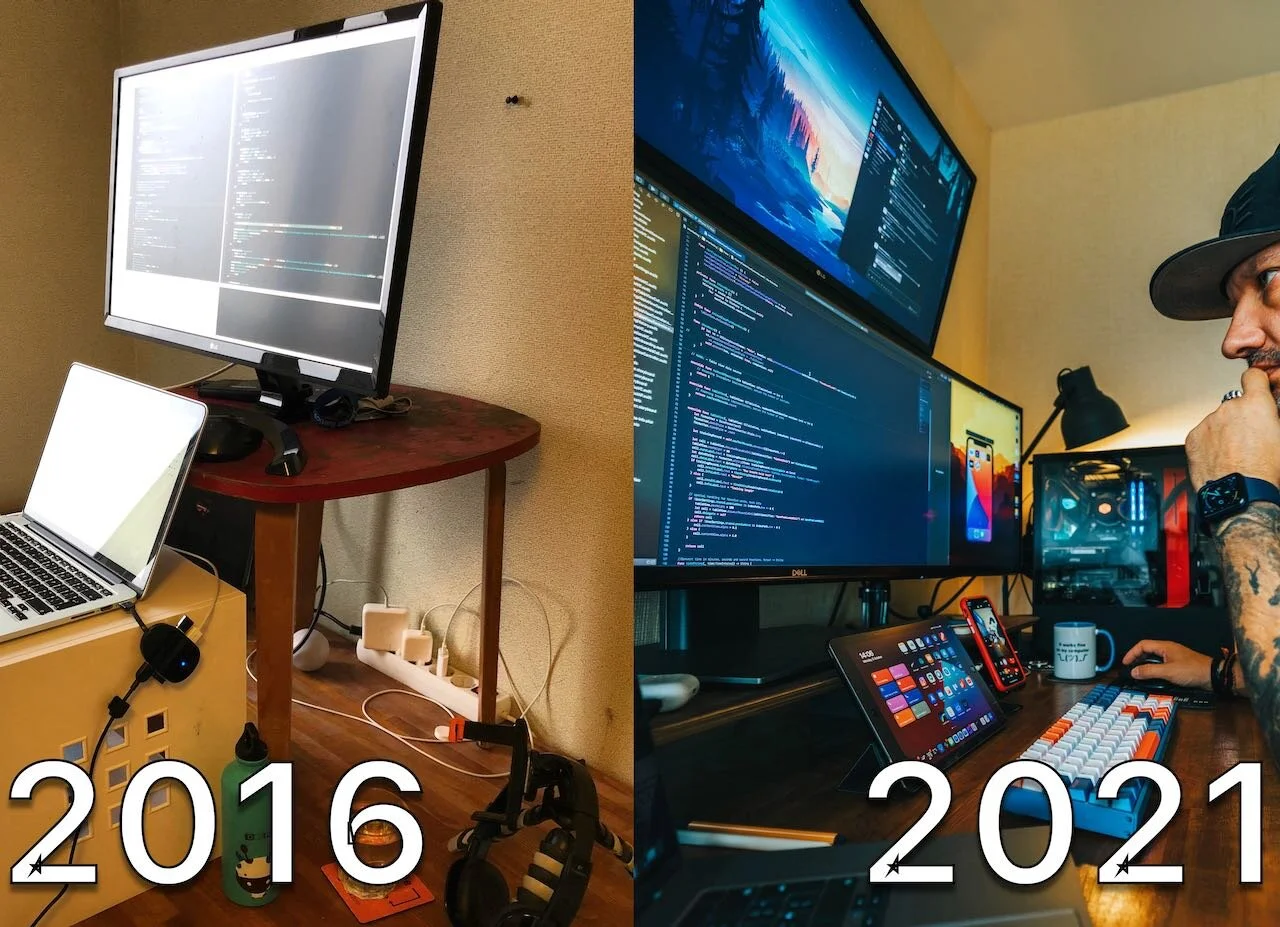
How its started and how it's going
Desk & Other Parts of my setup
I’m using the same wooden desktop from the old dining table, which I used back in 2016, but I upgraded it with affordable electronic standing legs from Ikea.
⌨️ My favourite Keyboard: Iqunix F96 <- 5% Discount link
🖥 Monitor: Dell 49” U4919DW
🪑 Ergonomic Chair: Autonomous ErgoChair 2 <- -5% with discount code AIVARS5OFF
Monitor arm which holds 12kg 49” Dell: HUANUO Monitor mount gas lift arm only 48€ (!)
I’m using Grovemade desk shelf and iPhone stand: Grovemade Store